

Moving on...
Here's a little DIY project I worked on for the shower. I'm starting to see a trend around here...I like to post projects for you guys on Fridays so you can be inspired and "play" over the weekend.
Before you think, "What in the world...I thought it was a baby shower?," I need to explain that we took the golf theme of Katie's nursery and ran with it. Next week I plan to post pictures from the shower. It was out of control (in a good way!).
How about golf ball flowers?...


Let's break it on down now so that you can do it.
Supplies:
*plastic cups
*skinny dowel rods
*green floral tape
*red and green tissue paper
*vase
*vase filler (I used nuts and moss, but marbles look great too)
*ribbon
*lighter
*saw
*golf balls

Use the lighter to melt the bottom of the cup. This only takes a few seconds. When you notice the plastic beginning to change form, push the dowel into the bottom of the cup and slightly twist the dowel. You'll see the plastic wrap around the rod. As it cools, the dowel is now enclosed by the plastic. This is what provides stability. Repeat this step until you have the desired amount of "flowers."

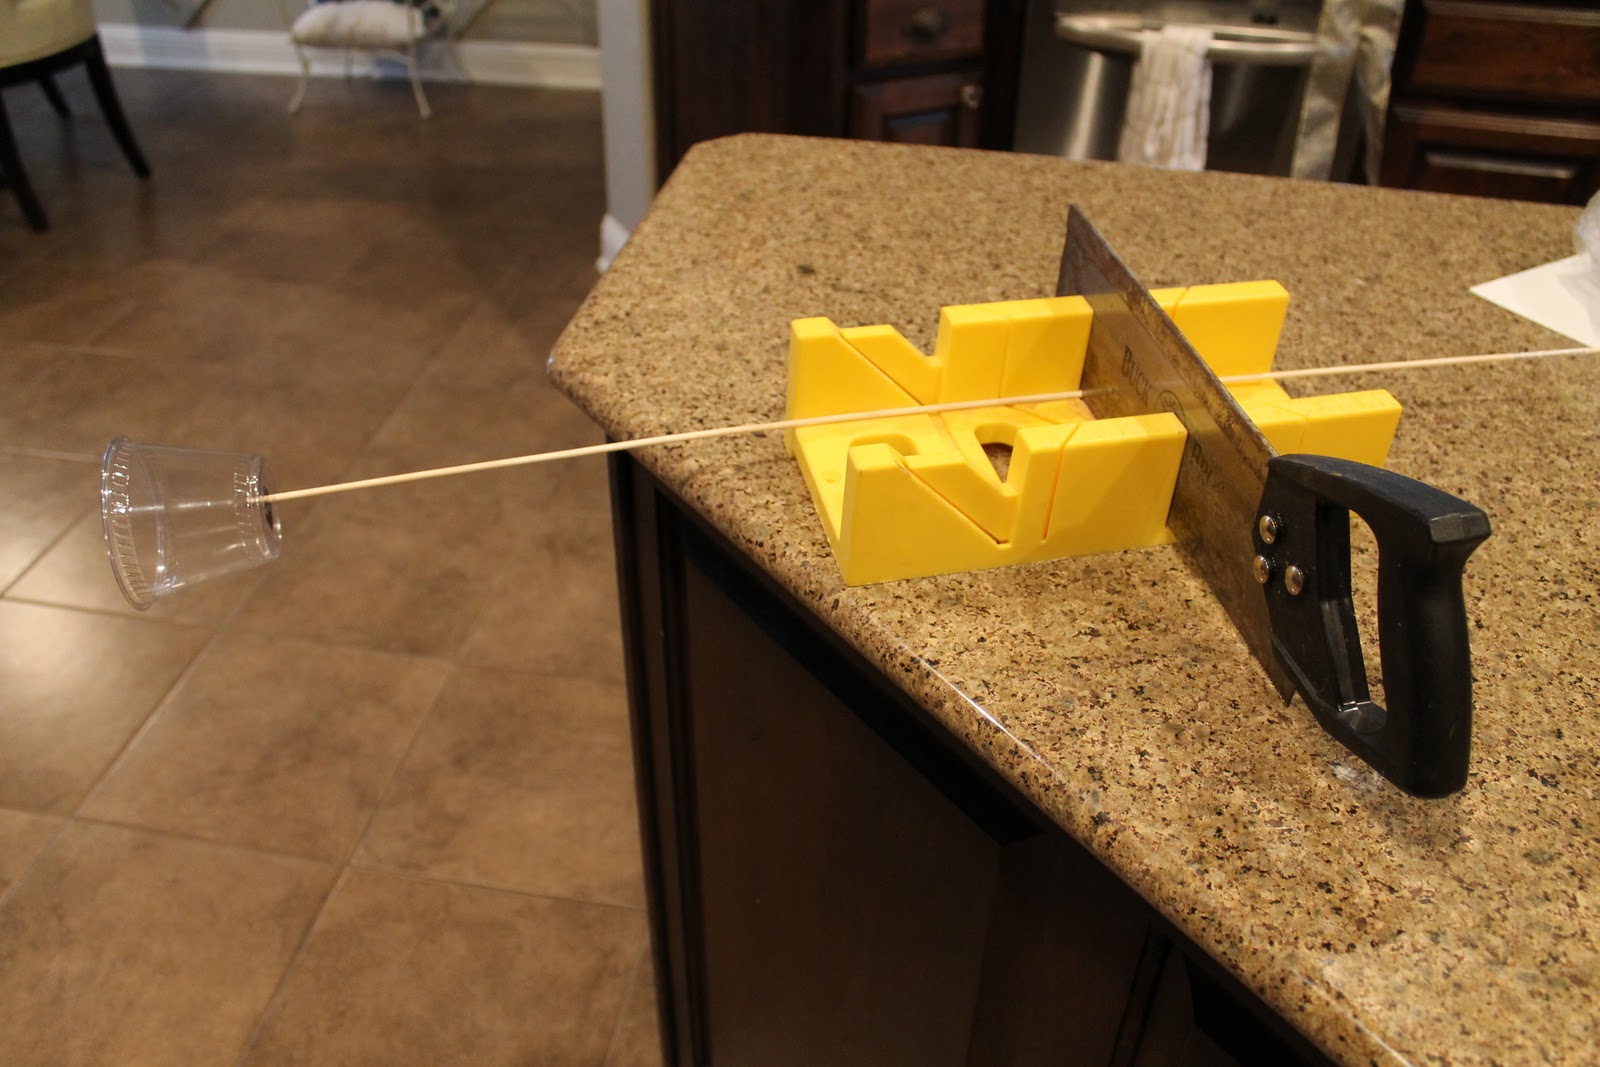
Use the saw to make your "stems" varying lengths.
Fill the vase with filler and begin to "arrange" your flowers.


Wrap each dowel with floral tape.


Here's a close-up of the bottoms of the cups. If some are burned, no worries, they'll be covered soon.

Now, unwrap a single sheet of red tissue paper. Softly poke the end of the dowel through the center of the sheet.

Carefully, work the paper up the dowel to the bottom of the cup.

Now fold the tissue around the cup and begin to push the excess into the center of the cup.

The excess provides a cushion for the golf ball.

Repeat this process until all "flowers" have bloomed!


Use the green tissue papers to fill in the dead space and create the look of floral greenery.
All that's left is to carefully place a golf ball inside of each flower and you're done! Let's take one more look at the final project, shall we?

File this one away, friends. Valentine's Day is just around the corner. If you have a golfer in your life, surprise them with something original this year!
Don't have a golfer? That's okay...you can revise this project numerous ways. Fill the flowers with his favorite candy, love coupons or any other little trinket. The best part? These flowers don't die!
Have a fun weekend, friends! I'm excited to say we have nothing planned. Hooray for rest!
If you're looking to create something fun in your house, contact me! E-design available.
Linking to: C.R.A.F.T.


