home about me home tour consultations testimonials contact

Tuesday, September 13, 2011

Tea towels

Have you ever found yourself drawn to something and you're not sure why? I was searching etsy and came across these tea towels. The artist is Leah Duncan and you can find her shop here.


They're completely not my style, but I love them! Do you have fun tea towels hanging in your kitchen? I don't, because I'm too cheap to buy them. Maybe that's why I like them so much. It's something I wish I would allow myself to splurge on, but just don't. I find myself admiring them at other people's houses quite often.

Check out some of Leah's other goodies, like great scarfs and pillows.


What's something you wish you could allow yourself to splurge on? I'd love to hear from you, give me a shout!

Random Act of Kindness

Hey friends!

I'm really hoping that you will find various forms of inspiration through my blog. Not only decorating, but  general ways to touch the lives of others. Once a week, I'm planning on bringing you a challenge. Most of these challenges will be in the form of a random act of kindness. Ready for this week's challenge? It's quick and easy and should only take you about 5 minutes tops.

RAK (random act of kindness) CHALLENGE: Send someone an email today telling them how much you appreciate them. It can be anyone, just think of someone in your life whom you think might need a thank you or an atta boy!


I did this recently for the teachers of these two cuties:


When you stop to think about it, teachers spend A LOT of time with our kids each day. Sadly, they probably hear more complaints than they do thank you.

 I sure am glad they are up for the job. If it were left up to me to homeschool, my poor kids probably wouldn't make it out of elementary school!


Both of their teachers sent me very kind responses and said it made their morning! Isn't it great to see the power of kind words?

So friends, go out and meet the challenge...show a little love and appreciation to someone who deserves it!

Sunday, September 11, 2011

Come on in and stay awhile!


Hey friends! Today I'm linking up and sharing my entryway with Roomspiration, blog hop and link party. The fun starts here, at Abode Love, then hops around blogland until October 7th. Can you believe it? What fun! Carve out some time and prepare yourself, because I'm sure there's going to be lots of pretties!

Welcome and come on in!


Prepare for a sniff. Maverick likes to show off how he blends with the rug!


Can you tell I have a thing for stripes? I painted these just a handful of weeks ago and let me tell you, could I have started with a more difficult space?! These walls are rounded people, hence the name, ROtunda. I had a secret weapon. Guess what it was? No, it wasn't a professional painter. That sure would have been nice, but I'm too cheap! I'll spill the beans, but you have to promise to come back for the complete DIY real soon. Promise? Pinky promise? Okay, here it is...

You smarties, did you really know what I was going to reveal?

I love my entryway, although it's still a work in progress. I'm thinking some convex mirrors would look stellar. Any other suggestions would be greatly appreciated! Wanna know the sad part? I'd say about 95% of people who visit my house, don't even enter through the front door! We've got crazy sidewalks and it's much easier/quicker to enter through the garage. So, instead of pretty stripes, they're greeted by my dirty laundry. "Hello, how are you? Check out my families undies and my sweaty running clothes." How's that for a first impression? Oh well, it's all about keeping it real.

I'll leave you with a few more pictures. I like to change things up each season, so here's what my entryway looks like in the fall.


My new little blog is getting a facelift this week (hopefully). I've enlisted the help of Elizabeth from The Mustard Ceiling to put some makeup on it and turn this beauty from blah to vavavoom! Can't wait to work with her and see what she creates. By the way, you can stop by her blog on Oct. 5th to continue the Roomspiration fun. She's featuring laundry and mudrooms.

I'm so glad you stopped by. Don't forget your pinky promise! See you soon!

Linking to The DIY Showoff.

Thursday, September 8, 2011

Reality vs. Fantasy

As I trod my way through my lack of computer skills and try to build this blog, I enlisted the help of a great photographer to help take some shots of my house. I'll be posting a home tour soon, so stay tuned.

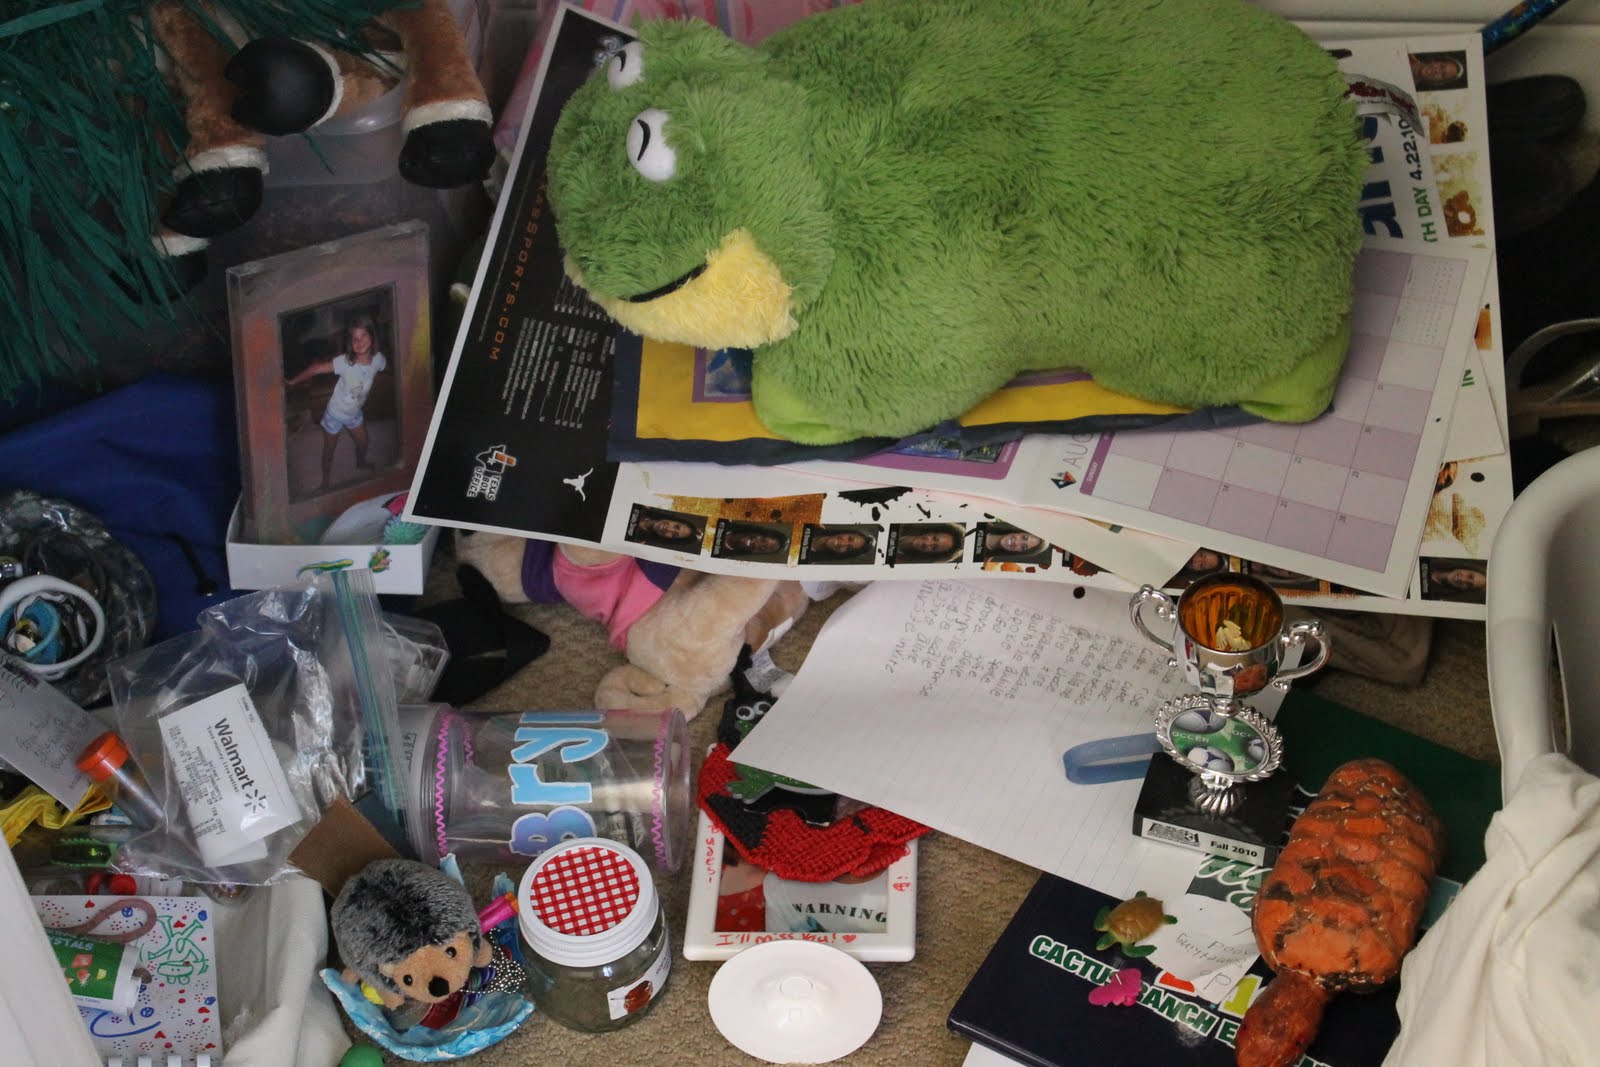
Anyway, my sweet daughter loves her some clutter! Quickly, before the photographer arrived I realized her room needed some major styling/editing. So what did I do? Take a peek for yourself...

Reality

Yes, that is the bottom of her closet! Thank goodness for closet doors. Don't think you'll ever see me taking the doors off to add a pretty curtain! I need those doors.

Does it make you feel better to see the messiness of another's life? Isn't it nice to know we're all alike and  only an insane person could possibly keep a 9 y.o. girl's bedroom spic and span at all times. So here's another shot, just to help you feel better about yourself, of course.


In my fantasy world, I walk into her room and this is what I see...


What's that? You mean there actually is a white top on your dresser?


Aaahhh! So much better. Clutter makes me cranky. My dear, sweet child, can you make you're mama happy and keep your room like this for more than just one day?! Love you, angel!

Wednesday, September 7, 2011

Goodwill Mirrors meet Rub 'n Buff

 My other fabulous Goodwill find was a set of 4 mirrors. I've been looking for something to fill an art niche but didn't want to pay big bucks for a super large piece of art or super large mirror.

Here's the niche before:


After my Goodwill find:


When I stumbled across these mirrors, in all their beauty, they had a bright gold trim and a patina finish (not on purpose). I'm sure the nice patina finish is most likely what led them to their new home at Goodwill. Don't people know that others will pay big bucks for an aged mirror? Oh well, their lose, my gain! After hanging them and looking at them for a short while, I decided something was a little off and the bright gold needed to be toned down. Enter, my new favorite product...Rub 'n Buff.


Antique Gold

This cheap little tube of wonderfulness took my mirrors to the next level. It was so easy to use.  Here's a few pictures of the process. 

All you need to work your magic!


You literally just rub it on then wipe it with a cloth. It dries really fast and the act of wiping it just gives it the finishing touch.


How about a side by side for comparison? 


Warning, blurry images! New camera, with much improved blog photos is totally on the list of things to do!

While I was at it, I began searching for more things to Rub 'n Buff. How about a candle holder? Might as well, nothing's safe when there's paint involved.


Next time you're looking to make a color change and don't want to go the spray paint route, grab yourself a tube of Rub 'n Buff. You won't be disappointed.

Linking to the following sites (check them out for great inspiration!):

Monday, September 5, 2011

There's a first time for everything


I frequently read other blogs where someone goes into to a thrift store and comes out with something fabulous. I've tried this numerous times and it's never happened to me. I find myself walking around thinking, "This is just a bunch of junk!" Well, I guess there's a first for everything, because look what I found...


Score! Three framed pictures that look great in my dining room. They were only $1.99 each! Honestly, I bought them for my parent's house then got them home and realized, "Hey, these look like they were made to go in my dining room." Sorry, Mom!

Here's my $6 room update:


BEFORE


AFTER


One more close up:


The back of these pictures are marked with a Bombay stamp. These were nice pictures in their day! Thank you person who decided they didn't look good in their house anymore, because I think they look great in mine!

I also made it home with another purchase. Stay tuned for a DIY project with a fun new product.

Thursday, September 1, 2011

Bamboo Placemat Art

    While browsing the aisle of Dollar Tree, I ran across some bamboo placemats that caught my eye. Immediately, I thought, "Wow, those would look really cool in a black frame!" That's normal, right? I mean, it's a perfectly normal response to see placemats and think artwork.


Here's what I came up with...


                                                                                 AND


This is definitely one of the quickest and easiest projects ever! Here are the details...

Items needed:
Bamboo placemat (varying colors available, pick your favorite!)
tape
scissors
scrapbook paper (in a coordinating color)

How to:
Step 1: Tape the paper insert that comes in the frame to the bamboo placemat. This will keep it from slipping when you begin cutting.

Step 2: Cut along the template.


Step 3: Place in frame. Can't get any easier than that!


Step 4: Think it needs a little something extra? Grab your scrapbook paper and cut out something pretty to place top of this textured beauty. I quickly sketched out a "F" for our last name, Frieling.


Thanks for stopping by. I hope your next trip to the dollar store is just as inspiring! If you decide to create your own piece of art, send me a picture, I'd love to see it!

Linking to the following parties:

Related Posts Plugin for WordPress, Blogger...
 
Blogging tips