


Whew! You guys definitely came through with your opinions on Tuesday. Thank you to each one of you who took the time to share. I've got lots to mull over so I haven't made any definite decisions quite yet, but I'll keep you posted.
I have made progress on the room though. My oversized art piece is complete and ready to be hung. It weighs a ton so I'm waiting patiently for my hubby to help get it back on the wall. But since you're probably a little curious (and I needed a post for today), I'll go ahead and share some pictures and a few tips in case you'd like to tackle a project like this on your own!

Here are close-ups so you can see the texture and variation in colors.


Want to make your own oversized art for really cheap? Here's the method to my madness...
1) Purchase a piece of plywood from Home Depot and have them cut it to the size you'd like.

2) Make at least 3 notches in the back of the wood for hanging purposes. The nail will slip right in.

3) Purchase a canvas drop cloth and *gesso (painting primer).
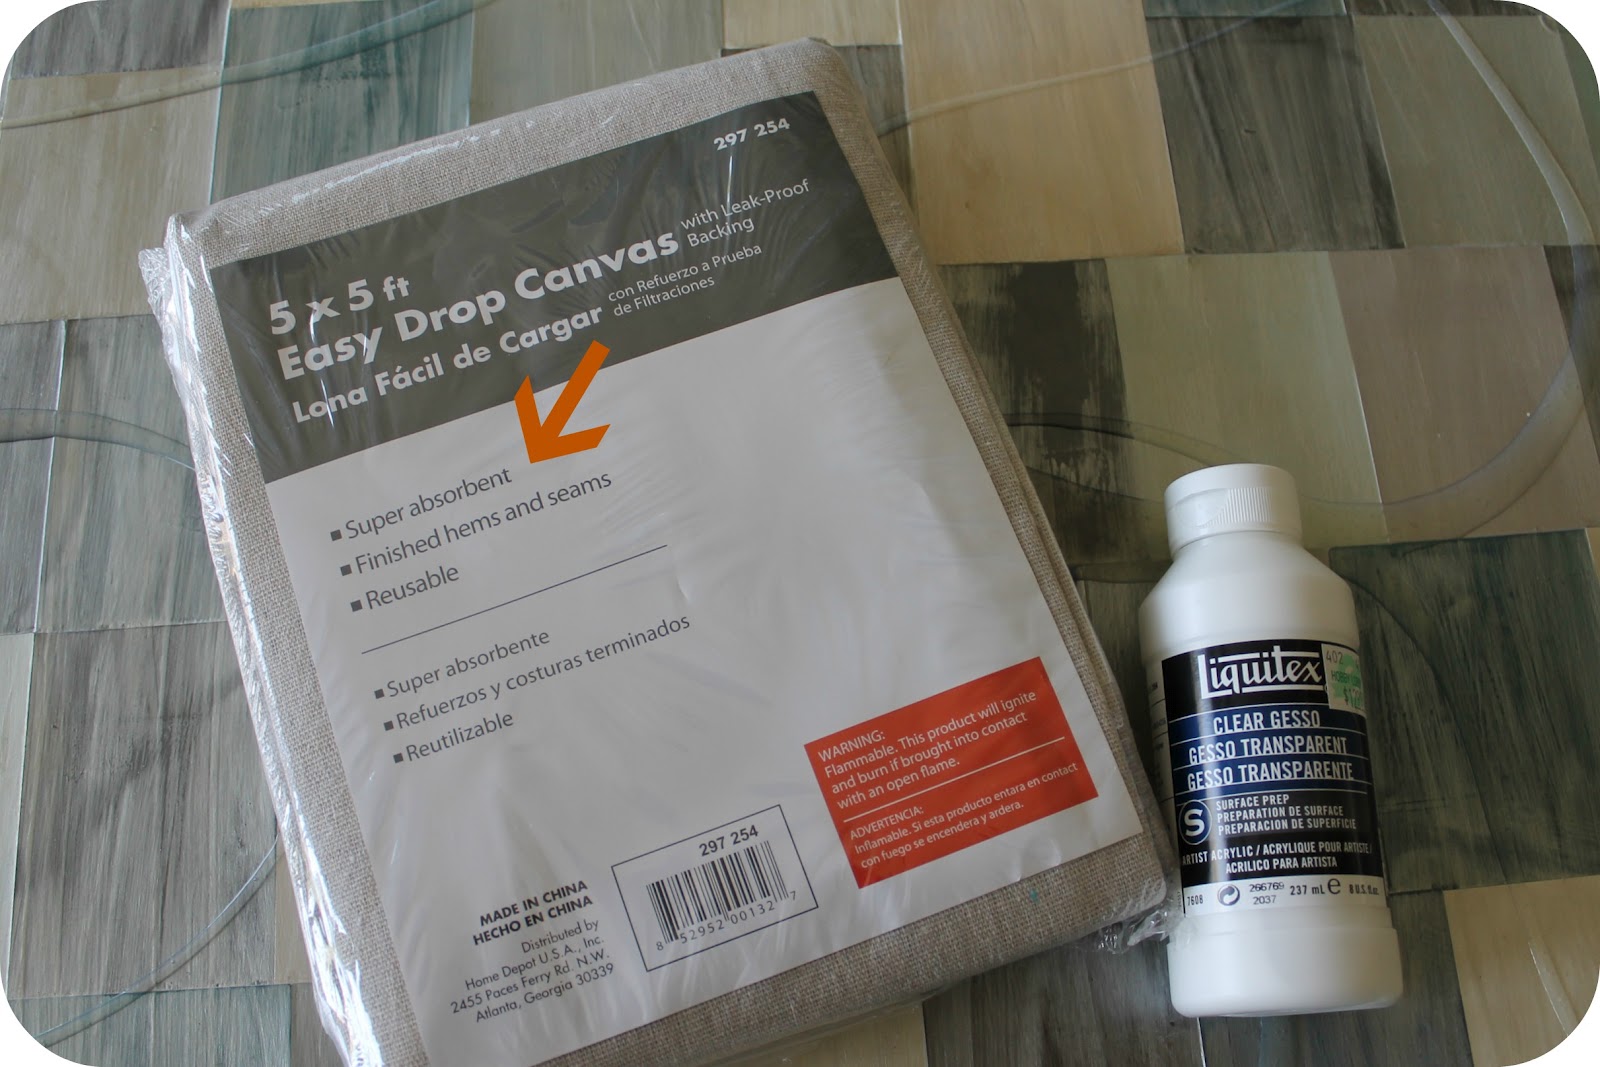
*This is important...see the orange arrow? It's letting you know this material is "Super absorbent," which means it likes to drink your paint. If you don't prime the canvas with gesso your cheap project will turn into an expensive project because you'll have to buy a mega-load of paint.
4) Iron your drop cloth then cover the plywood. Pull very tight and staple around the edges to secure it into place. (My plywood isn't showing b/c I had to turn over my previous art so the texture wouldn't come through on the new piece)

5) Time to prime. I used two primers, only because I ran out of the first type and when I went to buy more they were out of what I used originally. This was a good thing b/c I learned that white gesso works much better than clear gesso, on this particular canvas.

6) All that's left is creating your beautiful work of art, so start painting!
Points of interest:
- Plywood is very heavy so when hanging your art, make sure you find the studs.
- Painter's drop cloths have lots of texture. If you're going for this look, great! If not, you'll definitely want to use a different material.
If you've been inspired to make your own masterpiece, send me a picture of the finished product. I'd love to see it!
I hope everyone has fun plans for the weekend. Our family is going to sneak in some climbing and hiking at Enchanted Rock. It's one of the 'must-do' things in the Austin area and we've never done it!


7 comments:
that is such a genius idea!
It turned out beautifully! I have used canvas before and I wish I would've used that white gesso along with it!
Ok, I'm good with all of those steps, could you teach me how you create your beautiful abstracts?!! Have fun hiking!
Wow, it's beautiful!!! You're really good!
I have nothing to say except that you are a ROCK STAR! I LOVE this painting. Can't wait to see it on the wall. I'm horrible at waiting for my husband to hang pieces.
abby
I'm in awe....Seriously you are so creative and inspiring :)
Gorgeous! That turned out great! I'll have to file that idea away!
Post a Comment